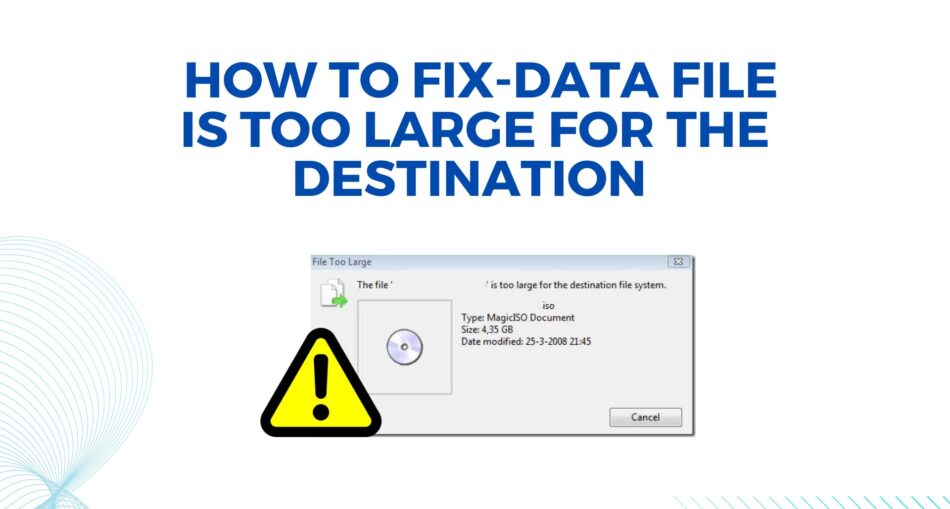
Whenever we try to copy a large file into an external hard, USB drive, or other data storage device, an issue that always troubles us is”The file is too large for the destination file system” Why cannot the destination file system “Even if it looks like there is enough free space to accommodate the file, why can’t the destination file system accept the huge file?
The “file system” is primarily to blame for this problem. This indicates that the files are unmanageable by the destination file system. A drive that has been formatted in FAT32 can only store files up to 4GB in size. Anything bigger than that won’t function, even if it’s composed of smaller, individual files. It simply cannot be handled by FAT32. For this reason, Windows moved to NTFS and now supports a variety of file systems, including ReFS (Resilient File System).
Reasons Why Data File is Too Large for the Destination Error Occurs
Insufficient space: The most common reason for this error is that the destination drive, whether it’s a hard drive, USB flash drive, or another storage device, doesn’t have enough free space to accommodate the file you’re trying to transfer.
File Size Limitations: Some file systems have a limitation on the maximum file size they can support. For example, the maximum file size restriction for files on older FAT32 file systems is 4 GB. If you’re trying to transfer a file that exceeds this limit to a FAT32 formatted drive, you’ll run into this error.
Corrupted File System: Sometimes, the file system on the destination drive might be corrupted, which can cause unexpected errors when trying to write files to it, even if there is sufficient space available.
How to Fix a File is Too Large for the Destination
PST file Too Large Problem can be fixed with any of the following approaches:
- Manual Methods to Reduce PST File Size
- Expert Solutions to Reduce PST File Size
Method 1: A) Extract PST Files Using Import/Export Wizard
Follow the steps listed in the below section. It will help you to resolve the file is too large for the destination error manually.
- First, open the Outlook application and locate File >> New >> Outlook Data File.
- A new window will appear, Now select the PST file and click on the OK.
- Now Create Microsoft Personal Folders window will appear, enter the name for the new PST file.
- Select the folders to move this new PST file.
- Now Click on the Edit option and mark the checkbox Move to Folder option.
- The Move Items dialog box will show up, click on the New button.
- Create New Folder Window will appear. Name the new folder.
- In the “Select where to place the folder” option, select a new PST file and click the OK button.
- Click OK to end the process.
Method 1: B) Format Your Storage Into NTFS File System
You can remove the File is Too Large for the Destination file system issue by formatting the storage drive to the NTFS file system. Using the File Management or Windows File Explorer programs, you can format the disk. Here is how to do it.
Format the storage using Windows File Explorer
- Launch File Explorer on your Windows PC.
- Find your storage drive and give it a right-click.
- Select Format from the right-click menu.
- Select NTFS under the File System tab and check the box against Quick Format.
- Press the Start button located at the bottom to initiate the formatting process.
- Click OK to confirm the changes when the process is complete.
Format the storage with File Management
- Choose Disk Management from the menu that appears when you right-click the Start menu button.
- Right-click the USB drive or external drive and select Format.
- In the Format window, select NTFS under the File System tab. Remember to check the box for Quick Format.
- Click Start to initiate the format process.
- Click OK once the formatting is complete.
Method 2: Fix- File is Too Large for the Destination Using Automated Tool
With the help of the Revove PST splitter tool user can split their large data file into smaller files, by date, size, year, folder, email ID, and category. Follow the steps to reduce the file size and fix the issues. Users can go for this tool which is technologically advanced with unique algorithms. It can split PST files without Outlook.
Follow the steps to fix the error professionally
- Download and launch the solution in your system.
- Add a PST File or Folder(s), and Destination Path to save split files.
- Select Split Option (Split By Date, Size, Year, Folder, Category, or Email ID) & provide the required details.
- Check the summary of Split Information and click on Next to proceed.
- Now the software will start to split PST in the required way.
Best Aspects of the Automated Tool
- Without erasing any data, it can divide your PST file into smaller PST files.
- It is compatible with UNICODE and ANSI file types.
- A file break option ranging from 1 MB to 1 TB.
- If necessary, users can quickly create a new folder to hold PST files.
- Offers special features like.
- Date-based PST file breaking.
- PST file division based on size.
- PST file truncation by email address.
- Sort PST files into groups according to contacts, messages, tasks, calendars, and so on.
- PST file division by year.
Final Conclusion
In this blog, we have discussed about the error Outlook Data File is Too Large for the Destination. Splitting large-sized Outlook files is the only best way to overcome this solution. We’ve covered both technical and manual ways to get out of this jam. As was previously said, users should not attempt to complete this activity manually. It is better to spend time on technical solutions to complete this activity. For users, it will become a hassle-free task. Users can also use the tool’s demo version if they have any questions. The user can buy the application’s licensed version after they’re satisfied.